
The Developer's Playbook for Working with Claude
A developer's guide to using Claude across the full dev cycle: project onboarding, configuration, prompt engineering, and external tool integrations via MCP.
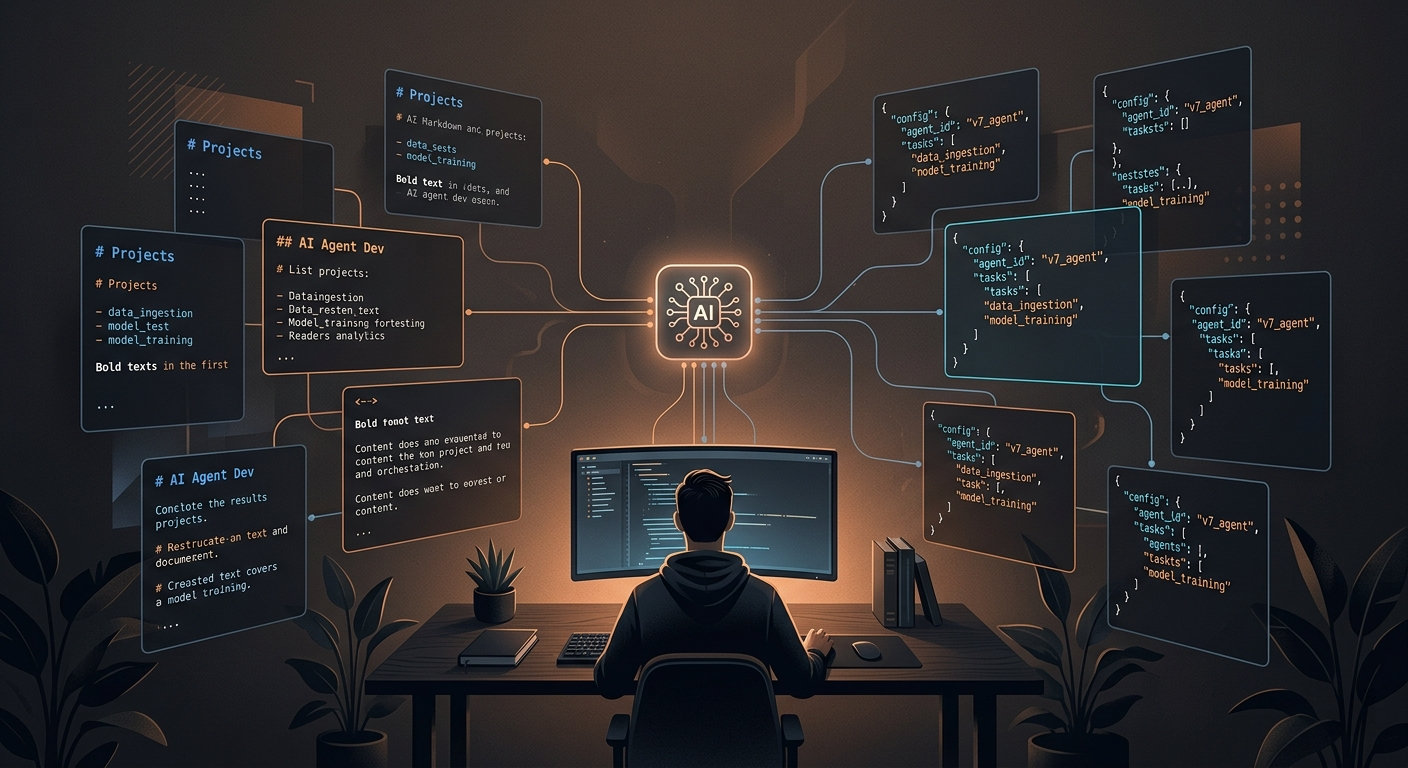
A practical walkthrough of Claude’s tools, configuration patterns, and prompt techniques — illustrated through a real React project.
What is Claude and the Anthropic Ecosystem
Claude is Anthropic's AI model — built for extended reasoning, large-context tasks, and agentic work. Where many general-purpose assistants stop at answering questions, Claude is designed to act: reading codebases, writing and running code, calling external tools, and operating across long multi-step workflows without losing track of context.
For developers specifically, Claude is accessible in a few different ways depending on how you want to use it.
The current model family includes Claude Opus 4.6 (highest capability, best for complex reasoning), Claude Sonnet 4.6 (strong balance of speed and quality, suitable for most dev tasks), and Claude Haiku 4.5 (fastest and most cost-efficient, good for high-frequency tasks).
To illustrate how these pieces fit together in practice, the rest of this guide uses a fictional React project called TaskFlow — a Kanban board built with React 18, TypeScript, Tailwind CSS, Zustand, React Query, and Vitest. Every code example comes from that same codebase.
Onboarding Claude to Your Project
The biggest mistake developers make when starting with Claude Code is treating it like a stateless chat. Claude has no memory between sessions by default. If you don't give it context, it will write generic code that ignores your project's patterns.
The fix is a CLAUDE.md file.
The CLAUDE.md File
CLAUDE.md is a markdown file you place in your project root. Claude Code reads it automatically at the start of every session. It is your project's briefing document — the thing Claude reads so it already knows your stack, your conventions, and your rules before writing a single line of code.
What to include: tech stack, folder structure, coding conventions, explicit do's and don'ts, API patterns, and test strategy. Keep it specific — vague instructions produce vague results.
Other Context Files Worth Sharing
Beyond CLAUDE.md, you can feed Claude other project files to make it more accurate. Three particularly useful ones:
API spec (openapi.yaml): When Claude knows your exact endpoint shapes and parameter types, it stops guessing and generates correct API calls.
Design tokens (tokens.json): Claude will use your exact color values, spacing scale, and typography rather than inventing its own.
Database schema: An ERD or raw SQL schema helps Claude understand your data model so migrations and queries come out correct on the first attempt.
Configuration: Rules, Skills & Hooks
Once Claude knows your project, the next step is configuring how it behaves. Three mechanisms handle this: Rules, Skills, and Hooks.
Rules — Persistent Instructions
Rules are instructions Claude follows every session, without you repeating them. They work like a linter — but for Claude's behavior. You store them in .claude/rules.md.
Skills — Reusable Knowledge Modules
A Skill is a document you write once that tells Claude exactly how to handle a specific type of task. Instead of repeating the same instructions every time you ask for a new component, you define the pattern once in .claude/skills/ and Claude applies it consistently.
With this skill in place, asking Claude to "create a LabelBadge component" produces all three files correctly structured, following your patterns, on the first try — without additional prompting.
Hooks — Automated Actions
Hooks trigger commands automatically when Claude takes certain actions. The most common use case is running linting and tests immediately after Claude writes a file — closing the feedback loop without any manual intervention.
Custom Slash Commands
You can define project-specific slash commands in .claude/commands/. Each .md file becomes a /project:commandname shortcut.
Prompt Engineering That Actually Works
The quality of Claude's output is directly proportional to the quality of your prompt. There are concrete structural patterns that consistently produce better results.
What Claude Parses From Your Prompt
When Claude receives a prompt, it's looking for four things: the intent (what is the actual goal), the context (codebase, stack, current state), any constraints (what must and must not happen), and the output format (file, function, PR, summary). A prompt that provides all four will outperform one that only provides the task.
Patterns that consistently improve output quality:
Provide examples of the expected output, or reference existing files: "like TaskCard.tsx"
Use XML tags to separate different concerns in your prompt
Be explicit about what not to do
Avoid vague verbs like 'improve,' 'fix,' or 'update' without specifics
Don't mix multiple unrelated tasks in one prompt
XML Tags — The Most Reliable Structure
Claude is trained to parse XML cleanly, which makes XML tags the most reliable way to structure a complex prompt. Tags prevent Claude from confusing context with constraints, or examples with output instructions.
Good vs Bad: A Direct Comparison
Here is what the difference looks like in practice, using a label filter feature for TaskFlow:
Advanced: Plan Mode, Worktrees & Subagents
Plan Mode — Review Before Execute
Plan Mode tells Claude to map out its full approach before writing any code. Claude presents the plan, you review or redirect, then it executes. This is most valuable on large features, risky refactors, or any change touching multiple files.
Git Worktrees — Isolating Claude's Work
Worktrees give Claude its own separate checkout of the repository — same history, different folder. This lets Claude work on a feature branch while you continue working on main, with no conflicts between the two.
Subagents — Delegating to a Specialist
In Claude Code's agentic mode, the main session can spawn focused sub-sessions — subagents — to handle specific sub-tasks. A useful pattern is a code review subagent: after finishing a feature, the main agent hands the diff to a subagent with explicit review criteria and gets back a structured report of issues to fix.
Ultrathink — Extended Reasoning
For decisions where you want Claude to reason carefully — architecture choices, complex bugs, performance trade-offs — include the word ultrathink in your prompt. Claude will use more compute to analyze the problem in depth before responding.
MCP — Connecting Claude to External Tools
Model Context Protocol (MCP) is an open standard that defines how AI models connect to external systems. Instead of custom integrations for every service, any MCP-compliant server connects to any MCP-compliant model. Through MCP, Claude can read resources (files, database rows, API responses), call tools (create a PR, run a query, send a message), and use pre-built prompts exposed by the server.
For a project like TaskFlow, the practical use cases are:
GitHub MCP: Claude creates PRs, reads issues, and checks CI status without leaving the session.
Figma MCP: Claude reads design tokens and component specs directly from your Figma file.
Postgres MCP: Claude queries your actual database to understand real data shapes, then writes correct migrations.
Slack MCP: Claude posts deploy notifications and PR summaries to team channels.
Setting Up an MCP Server
MCP servers are configured in claude_desktop_config.json. Most official servers install via npx — no build step required.
How AI Agents Work Best
Having used all the pieces above, a few patterns consistently produce better results than others.
Give full context upfront.
CLAUDE.md, rules, and skills eliminate the majority of correction prompts. The more Claude knows about your project before it starts, the less you need to correct mid-task. Front-load the investment in setup; it pays back on every session.
Small, focused tasks outperform large ones.
"Build the labels feature" will produce something approximate. Breaking that into nine specific sub-tasks — each with a clear input, output, and constraint — produces correct, reviewable output at each step.
Plan before touching multiple files.
Use Plan Mode whenever a task will modify more than two or three files. Catching a wrong architectural direction at the planning stage costs one message. After the files are changed, it costs significantly more.
Close the feedback loop automatically.
Hooks that run linters and tests after Claude writes files mean Claude sees the output and self-corrects without requiring manual intervention.
Isolate Claude's work on branches.
Use worktrees to give Claude its own branch. Treat it like a fast developer whose code you review before merging. This keeps your main branch clean and gives you a natural review gate.
Define autonomy boundaries explicitly.
Your strategy.md should clearly state what Claude can do without asking (write code, create components, fix types) and what requires human approval (rename or delete files, change public API shape, update dependencies).
Where to Start
If this is your first time integrating Claude into a development workflow, the following five actions will give you the most return in the shortest time:
Write a CLAUDE.md for your main project. Add it to your repo today. A stack summary, folder structure, and a "never do this" section is enough to start.
Install Claude Code CLI. Run: npm i -g @anthropic-ai/claude-code and open it in a project directory.
Try an XML-structured prompt. Take one thing you'd normally ask as a sentence and restructure it with <context>, <task>, and <constraints>. Compare the output quality.
Set up the GitHub MCP server. Configure it once and let Claude create your next pull request automatically — including summary, description, and labels.
Use Plan Mode on your next feature. Before writing any code, ask Claude to plan the approach. Review it, redirect where needed, then execute.
The full pattern — CLAUDE.md, rules, skills, hooks, strategy, structured prompts, plan mode, worktrees, subagents, and MCP — is a repeatable playbook that applies to any project, not just React. The TaskFlow examples throughout this guide are illustrative, but the same setup works in a Python API, a Go service, or a mobile app codebase.
Final Thoughts
Claude works best when it's treated as a collaborator with clear boundaries, not a black box you prompt and hope for the best. The patterns covered in this guide — context files, rules, structured prompts, plan mode, and MCP integrations — aren't workarounds; they're how the tool is designed to be used. The investment in setup is front-loaded, but it compounds quickly: a well-configured project means less correction, more consistent output, and a workflow where AI handles the repetitive execution while you stay focused on the decisions that actually require judgment. Start with CLAUDE.md, get one session working well, and build from there.
Ready to Transform Your Warehouse?
Get a free, detailed estimate for your custom WMS solution